Installation and Setup
Download
WED may be downloaded from the X-Plane Developer Site via the Scenery Dev > Dev Tools > WED page.
Installation
WED does not come with an installer, but is simply a single executable. After downloading and unzipping, the executable may be launched directly, the same as any other application. The APP icon is shown at right. The WED executable does not need to be in any specific location on your computer to run. You will point it to your X-Plane installation folder the first time you run it, so put it wherever is convenient for you.
Setup
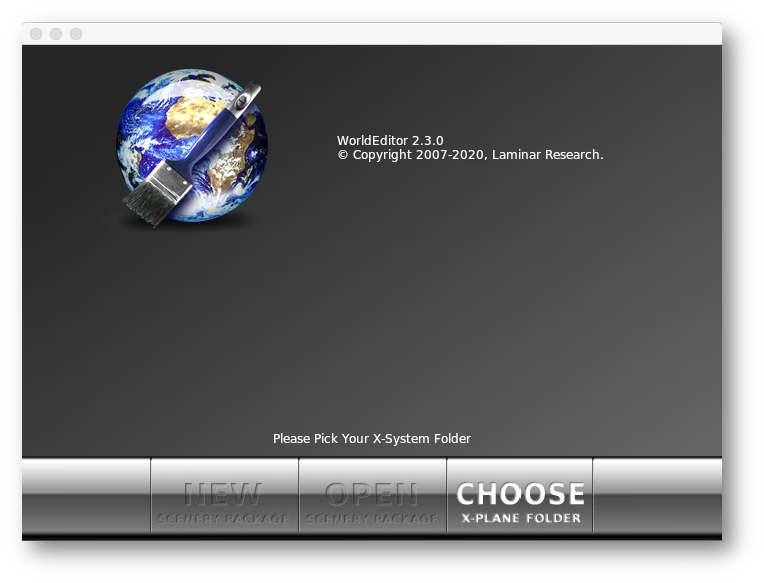
On first run of WED, you will see the following GUI window shown below, which is called the Package List Window. You will need to Choose (select) your X-Plane installation folder first, after which you will see a listing of any installed custom overlay scenery packages. Since all the scenery assets are contained within the X-Plane folder, WED needs to know where that folder is to have access to those elements. If you have multiple X-Plane installations, you can point WED to whichever one you are editing scenery for and WED will display the overlay scenery packages for that installation. (see next paragraph)
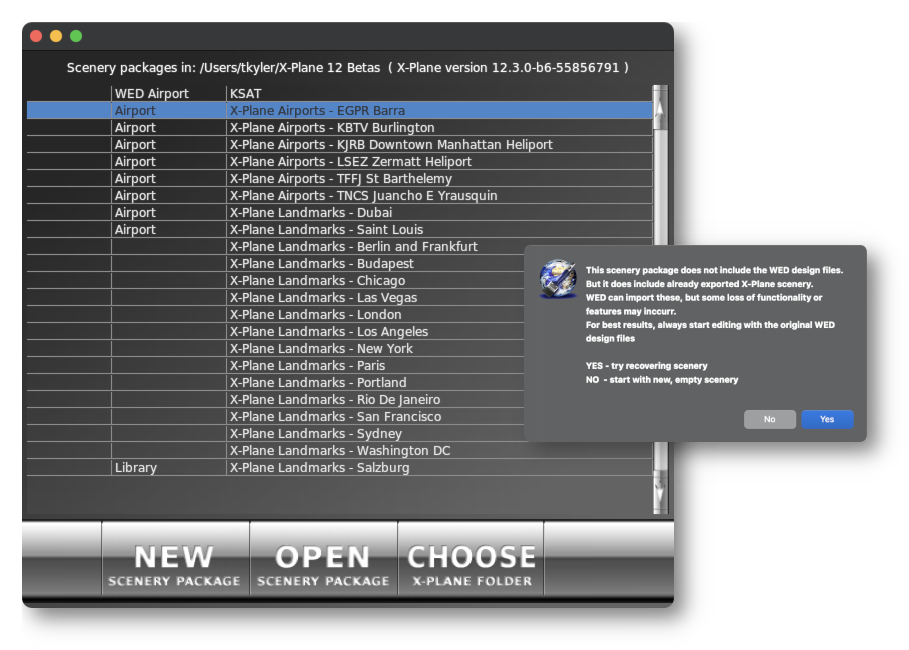
Once you've selected an X-Plane folder, WED will validate your X-Plane install by testing for the presence of the Resources/default scenery/ and Custom Scenery/ folders. Once validated, WED will then list all Overlay Scenery Packages available in the Custom Scenery folder and make the NEW and OPEN buttons available (see image below). X-Plane ships with several Custom Scenery Packages already provided and these will be listed, with each package being prefixed with X-Plane.
NOTE
As mentioned in the Introduction section, WED uses an XML file for editing purposes and NONE of the custom scenery packages that ship with X-Plane include the WED XML file; therefore, you will not be able to OPEN any of Laminar's Custom Scenery Packages into WED. Laminar's Custom Scenery Packages are identified by the word X-Plane) as part of the package name. When you select an Airport scenery package and OPEN it, WED will look for its XML file, and if it does not exist, will display no scenery; however, IF scenery elements DO exist in the chosen folder, WED will give you the option to try and import the elements that it is able to, at which point you can then save your own XML file for further editing. (see dialog below right)
New Scenery Packages
When you create a New Scenery Package via the NEW button, WED will automatically add a new package entry to the Scenery Package List named Untitled. At the same time, WED will also create an empty folder of the same name in X-Plane's Custom Scenery folder. You can change the name of the folder/package via WEDs package list by clicking on the package name (after its selected/highlighted), whereby WED will also change the name of the actual folder for you, OR you can manually change the name of the actual folder and the Scenery Package list will update to reflect that new name also. Changing the folder/package name via the WED package list is just a convenience for renaming the scenery package folder itself.
Once you have created a new overlay scenery package, all you will have is an empty folder. To begin editing or importing scenery, you first need to highlight your new scenery package in the package list, and then select the Open Scenery Package button, which will then launch the WED scenery editor. Note that you must either import scenery elements, or create them with WED tools before you can create/save a WED XML authoring file. WED will not save an XML if there are no scenery elements to save. The next section describes some typical workflows when working with WED, each varying depending on your deployment goals.