Scene Management
General Overview
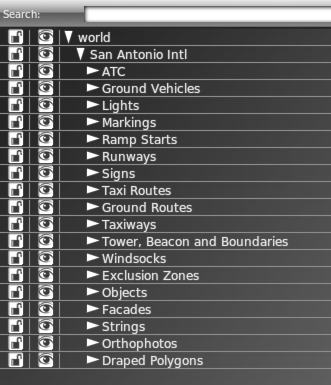
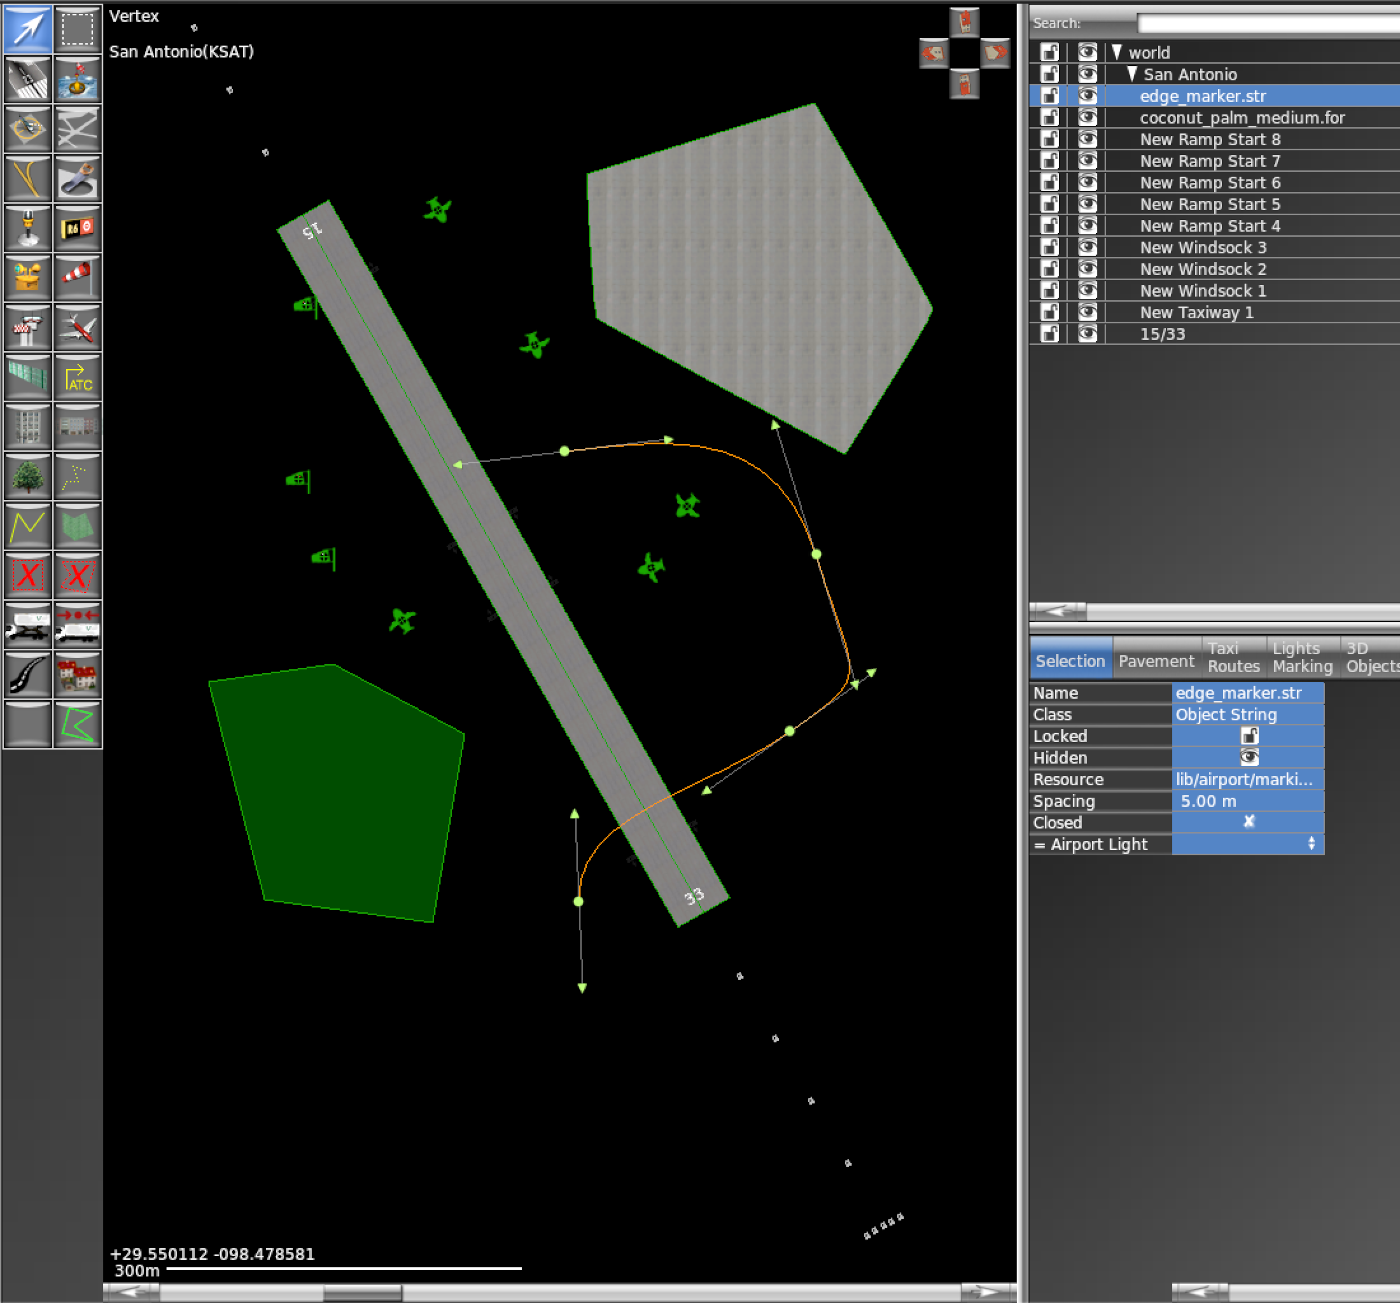
Airports in WED consists of a lot of differing parts and art assets. Each of these individual elements are listed in the Hierarchy Panel as shown at right. This list grows very fast as you add entities to the scene and you can easily generate 1000s of entities very quickly. The image below left shows a quick example of just adding a few elements to a scene with no organization or groups. Imagine 1000s of these like-named entries in the hierarchy panel with no groups?
Click to Enlarge
While you can (mostly) organize the hierarchy entries any way you like and group entities together, implementing a strategy for organizing these entities so that you can author your airports efficiently without losing your situational awareness is critical. Over time, some best practices have emerged that most authors agree are a good and consistent way to organize your scenery entities, and we will present those here.
In the example hierarchy shown at right, you will note several turn-down categories, which in WED are called Groups. Groups are Parent entities and have children, which may be more groups or actual WED scenery entities. These groups are user-created and neither standardized nor required. The general organizational structure illustrated is used by Laminar for its Gateway Airports and its certainly a hierarchy many have become familiar with. You may not see all these groups at smaller airports which do not have all of these categories; however, the order they appear in the hierarchy, from top to bottom, are mostly consistent for Laminar's airports. The order elements appear in the hierarchy have SOME bearing on their draw order, both in WED and in X-Plane, which we discuss further below in Scene Draw Order
Required Hierarchy
We said above that you could organize the hierarchy any way you like; however, there are some minimal requirements. First, the topmost parent group will always be World, you can neither move, rename nor delete this group, WED provides it. Selecting it, or ANY group entry in the hierarchy will select its children, but one level down only. You can see the topmost parent World group in the image at right.
Secondly, in order to create ANY airport specific elements, i.e. elements that are defined in the apt.dat file, you must have at least one airport group created. WED will always place airport (apt.dat) entities inside an Airport group and apt.dat entities cannot exist outside one. If you try and place an apt.dat entity and you have not yet created an Airport entity, you will not be able to place that entity in the map view.
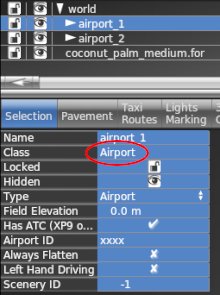
If you are creating an airport from scratch, then an empty airport group is created explicitly with the Airport > Create Airport menu command; however, if you import an airport from the Gateway or other scenery package, then the airport group will already be created. An airport group is identified by selecting it in the hierarchy and noting its Class Attribute as shown at right, which is Class = Airport. Airport groups will always be just under the world group, and you will want to fill out the basic Airport attributes to identify the airport.
The sample hierarchy shown at right also illustrates another required authoring paradigm, and that is each airport in the scenery resides in its own airport group. Most of the time, you will only have one airport in a WED project, but its perfectly feasible to have more than one. Perhaps you are modeling an airport with a small private airfield nearby, or maybe an executive type satellite airport.
Finally, note the coconut_palm_medium.for entity listed underneath the airport groups. This is a forest region and because this is not an airport entity like a runway, ramp start or taxiway, it can exist outside an Airport group in the hierarchy. If you were to create a city center, then all those entities should be in their own group outside an airport group etc. While non-airport (DSF Based) entities CAN exist outside an airport group, they do not have to and can be inside or outside an airport group as you see fit.
Finding Entities
Newly Created Entities
When you place a new entity in your project scene, there are a few rules regarding where in the hierarchy it will be placed. It is not necessarily intuitive so you have to pay attention. The first thing to be aware of is whether or not the entity you are placing is a DSF type entity, or an apt.dat entity. apt.dat entities can ONLY exist inside an airport group. DSF entities can exist both inside or outside an airport group. The following insertion rules will apply.
FOR apt.dat entities:
- if any entity in the Airport Group is selected, then any newly placed apt.dat entity will go directly ABOVE the selected entity in the hierarchy
- if NO entity is selected, OR any entity outside the Airport Group is selected, then the newly placed apt.dat entity will go directly BELOW the Airport Group entity, i.e. at the top of the apt.dat "children" elements.
FOR DSF entities:
- if any entity is selected anywhere, then the newly placed DSF entity will go directly ABOVE the selected entity.
- if NO entity is selected anywhere, then the newly placed DSF entity will go directly BELOW the world entity.
Its VERY easy to place something in the Map View and not know exactly where it is in the hierarchy. This is a common occurence and its normal to take regular breaks to "clean up" your hierarchy from time to time, but of course you need to find them to clean them up. There are a few techniques we can use to find items is in the hierarchy list. These techniques are discussed below.
..by Map View Selection
When you select any entity in the Map View, it is highlighted in the hierarchy panel. If the entity is nested inside a collapsed group however: then you will not see it unless the group is expanded. If you have lots of sub-groups, this can be cumbersome to find entities some times. In this case, you can do one of two things:
- Use the COMMAND-arrows key combo technique to find where it is in the Hierarchy.
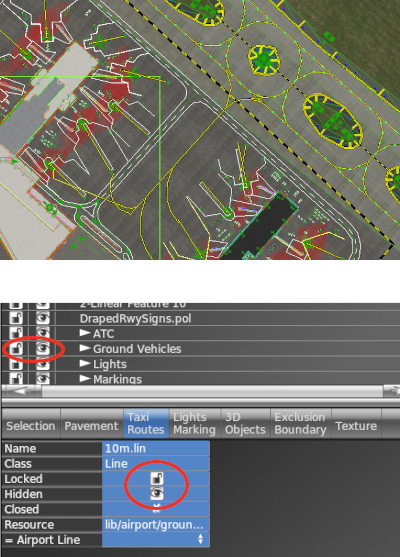
- Drag the attribute box to where you want it in the hierarchy and thus will know where you put it. The clip at right shows dragging an attribute box into the hierarchy list. You can click-drag on any of the entity's attribute fields and drag it in a group or between entities. This drag attributes method only works for the top-level entity. In other words, you cannot select one node from a taxiway path and drag the attributes box to the hierarchy, you have to select the whole taxiway entity.
.. by Search Filter
The Search Filter at the top of the hierarchy panel can be used to filter the hierarchy list. If you are not sure of an entity's name, you can simply tag it in the Map view and note its Name attribute and search for that. With this approach, the filtered results in the hierarchy panel will show all the groups/nested groups that entity is within, showing you its nested depth; however, WED does not require you to have unique names for entities, and it could be that your returned filter list is quite long with dozens (or hundreds) of identically named entities. If you select the entity first in the Map view and then filter for its name while its selected, it will be highlighted in the filter list and easily identified.
An organizational gotcha with this technique is the filter results will only show you the nested groups the found entity is in, hiding all other groups. This means if you want to drag-move your entity to another group (which you usually do), you will not be able to if all other groups are hidden.
The workaround for this is to drag the entity to the top of the filtered list JUST underneath the Airport group. This will take the entity out of any existing groups and list it at the top of the airport group list. THEN, you delete the filter string, revealing all the groups again, and finally drag the entity to your desired group. This technique is illustrated in the clip at right. Once you get the hang of it, its quite quick.
.. by Parent / Child
When you have a LOT of entities with similiar names, then the command-up-arrow key technique is useful but can be a bit more cumbersome and there are two ways to use it. The first involves selecting the entity in the Map view, then hitting the command-up-arrow key combo until you see some group highlighted in the hierarchy list. The originally selected entity will be in that highlighted group somewhere.
If your entity is nested in even deeper groups, then you may have to expand the topmost identified group, reselect the entity and execute additional command-up-arrow combos to locate to the exact group. The clip at right illustrates how to use this key-combo multiple times to find a nested entity. It simply selects the parent of the selected item.
The second way to use this key combo, and less cumbersome, is to note the Attribute Names as you execute the command multiple times. This will give you a reverse path of the entity's location. For example, if your object is nested as shown at left, i.e. World/Boerne Stage Field/Ramp Starts/north end/cargo only/New Ramp Start 13, then as you execute the command-up-arrow keystroke, each upstream group will be selected and the attribute name of each group will be shown and you will see them in the reverse order. The clip at left shows the list filtered to reveal the exact path, and then the up-arrow-key was executed multiple times to demonstrate how that command selects each upstream group.
To recap, while the Name filter method is generally more specific and better for finding deeply nested items, the command-up-arrow method can be quicker sometimes for shallow paths, being keystroke based. Both are effective methods for finding where your entity is in the hierarchy list.
Visibility and Locking
WED scenery tends to layer a lot of stuff on top of a lot of other stuff, creating a cluttered view as illustrated at right. This frequently makes it difficult for WED to know exactly what you want to select sometimes. In these cases, it can be beneficial to turn off or lock entities you are not concerned with while you work so you don't move things around unintentionally.
The most common way to clean up the view quickly is by using the De-Clutter filters in the Attibutes Panel, hiding the things you don't need to see. The Taxi-Routes De-clutter filter, specifically, will also show extra information in the map view to assist with configuring Taxi-Routes.
Beyond these filters, you can use the Visibility Eyeball Icon to toggle the visibility of entities. Every entity and group have this icon adjacent to their name in the hierarchy, and selected items will also have the same visibility/locking settings available in the Attributes Panel. For both of these settings, lock and visibility, the following rule applies:
- Children entity settings are independent of their parents; however, Parent visibility settings override all children settings.
This means than the state of the Parent Group does not change any of the settings on its Children. For example, if a Parent Group have 10 children entities in it, and you make 5 of those children hidden, they will disappear, leaving 5 visible. IF you then turn off the PARENT GROUP visibility, then all children will be hidden because the parent group overrides all children settings. THEN, if you re-enable the Parent Group visibility, then 5 of the children will still be hidden and 5 visible because their settings are indenpendent of the Parent. If you want to synchronize child settings (visibility / locking) with that of the Parent, then you'll need to use the Sync/Align Attributes technique.
Map View Draw Order
The draw order in the map view, as well as the render order in X-Plane for Apt.dat elements is governed by their order in the hierarchy. Apt.dat Entities higher in the hierarchy will render on top of other apt.dat entities further down in the list.
For DSF entities, the render order is governed by their assigned Layer group, which is contained in their art asset specification file and not by their position in the WED hierarchy. In some fringe cases, you may have a polygon that renders UNDER another polygon in WED, but renders ON TOP of it in X-Plane. For DSF entites, ultimately the asset's layer_group assignment will control its draw order in X-Plane, so be sure to check your results there.